Are you camera shy?
Is this dilemma holding you from reaching your highest potential as a direct seller?
I know it can be scary to get started on video if you’ve never done it before. So if you’re a bit shy about being on camera, read on for tips on overcoming that fear!
Video content is vital to your online presence and social media popularity. To gain success on social media, you must create your own videos because social media algorithms highly value unique content.
But this doesn’t have to be difficult or technical.
I like to keep things simple and cheap! Sounds good, right? Keep reading for easy, no-fuss tips to level up your video content.
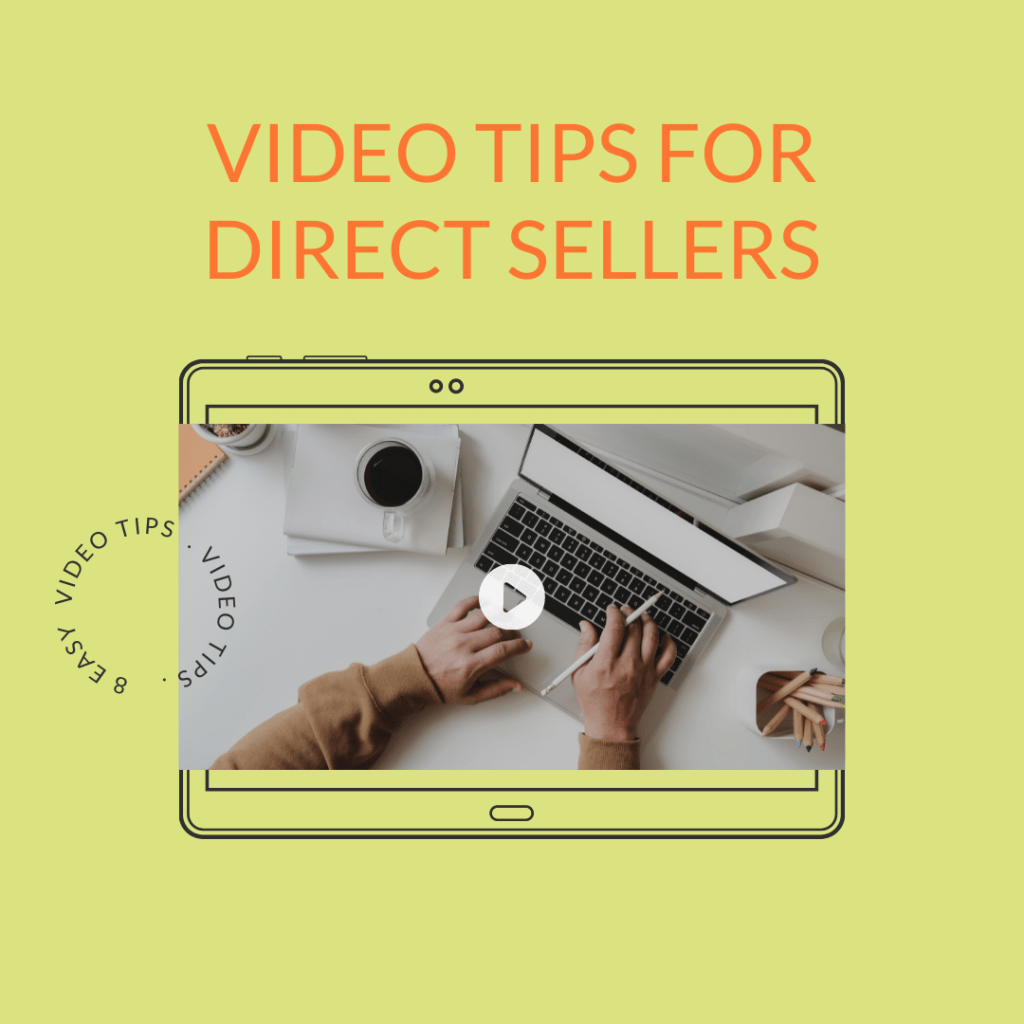
1. Easy Equipment for Your Videos
Use what you already have!
Don’t buy expensive cameras unless it’s your hobby! You can use your smartphone, iPad, or laptop.
If you want to use your smartphone or iPad, you probably want some way to prop it up while you’re filming to keep it stable. You can use anything that will keep it steady, like books, a mini bean bag or a paperweight. Be careful you’re not muffling the sound. Also, make sure the microphone is free to record your voice.
Alternatively, you can grab yourself a cheap tripod – eBay or Amazon are full of very affordable and easy to use options.
Use the rear camera
Don’t use the front camera on your smartphone or tablet. Use the back camera instead. The rear camera is much higher quality, so use that to record your videos instead of the ‘selfie’ camera at the front.
Also, try to record in landscape mode (horizontally). This will give you good footage on larger devices, not just phone screens. You may have to record different video versions to suit different platforms or use an app to resize it. Many editing apps can resize for various socials for you to shoot once and then edit it for other social media platforms.
2. Lighting

Lighting is crucial in videos, and fortunately, it’s pretty easy to get right if you pay a little attention.
Natural Light
Natural light is best, so sitting near a window with natural light that lights up your face is perfect.
Face the window and don’t have it behind you to get the best lighting. Then, check the image to see the difference between facing the window and having the window behind you.
Using Lamps
If you can only film at night or your house always looks shaded, you’ll need to get some lamps to light you up. Use any lamp to light your face from the front. You can use desk lamps or other lamps you already own without buying anything new. Try to get a warm shade as fluorescent lights are very harsh and don’t favour you.
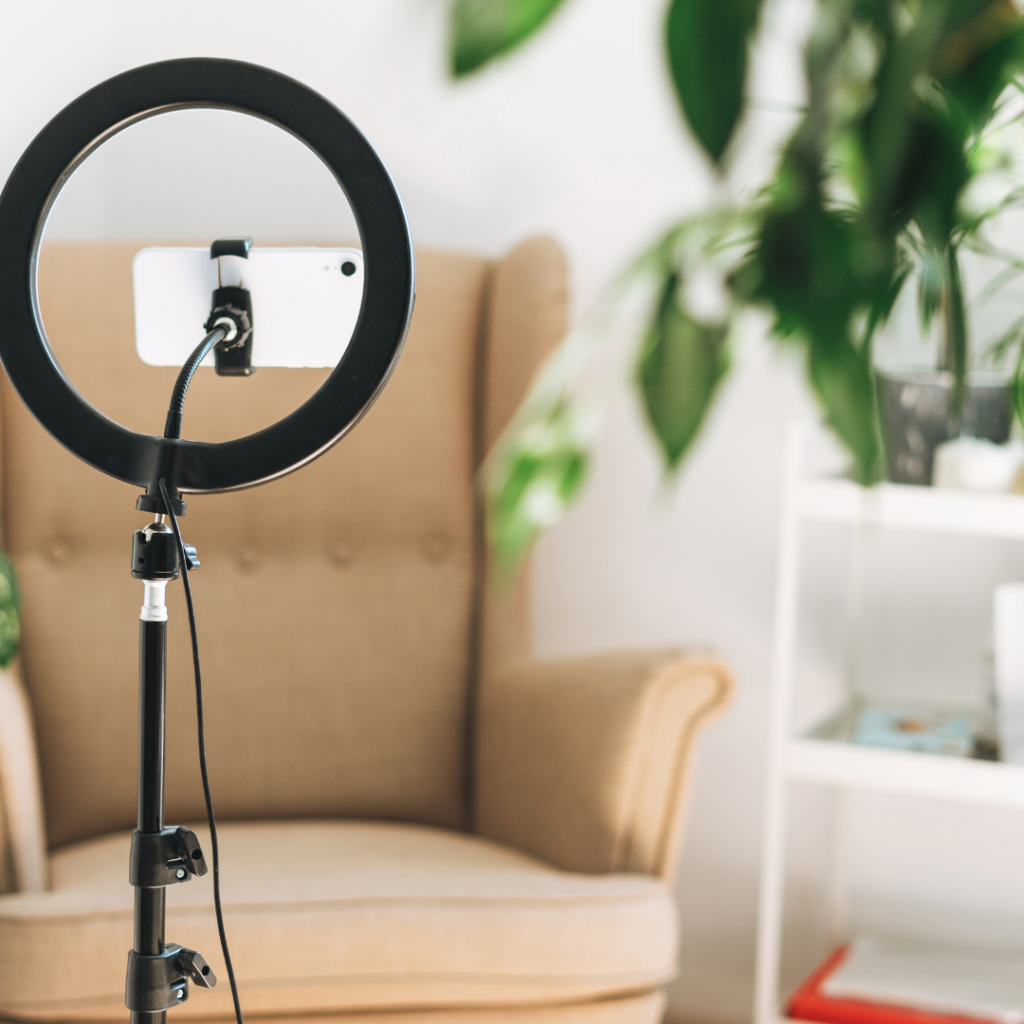
Ring lights are cheap and popular and made for videos, so that’s a great option if you record regular videos. In addition, affordable ring lights are easy to find online.
Tip for people with glasses
Angle your lamps or ring light to shine down on you, and you don’t get distracting reflections in your glasses. It doesn’t have to be straight above you. Just slightly above and angled will do the trick. Practice a few times until you get the angle right.
3. Video Backgrounds
Try to have an uncluttered background that isn’t distracting the viewers. For example, consider using a banner with your company logo. You can also place a few products strategically on shelves behind you.
If you want to use your shelves to highlight a few products, keep the shelves mostly empty so they stand out, and it doesn’t look cluttered and distracting. Also, make sure you stand out from the background: don’t wear a white sweater if you’re in front of a white wall.
4. Make-up
I recommend that, at the very least, you use bright lipstick. Also, if you’re using make-up, apply it a little heavier than you usually wear – the camera loves it!
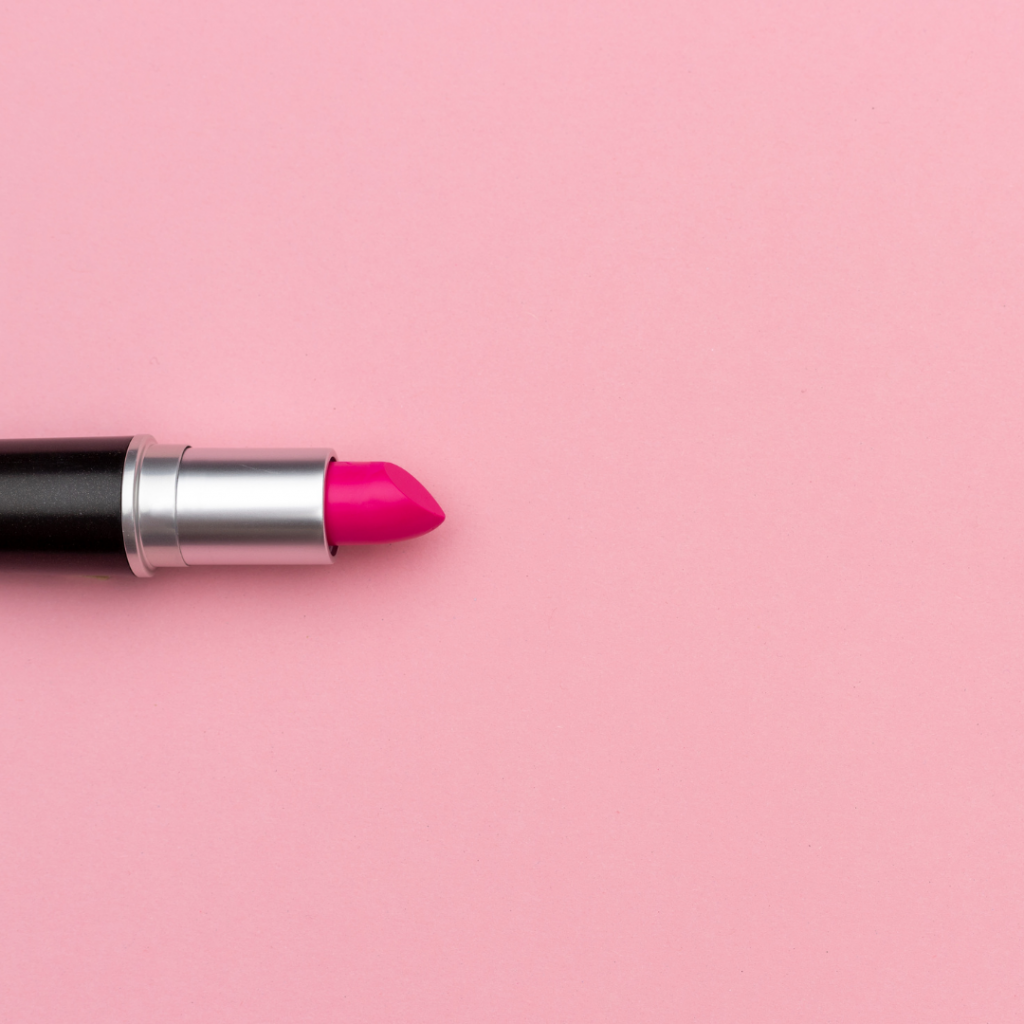
Bright colors attract attention and look great on camera. However, I have specific lipsticks that are too bright for daily wear, so I wear those colors when recording videos.
5. Editing
Do as little editing as possible. You probably need to trim the start and end so that you don’t have a weird “is this on?” moment, but instead, start with your ‘hook’ to get people interested.
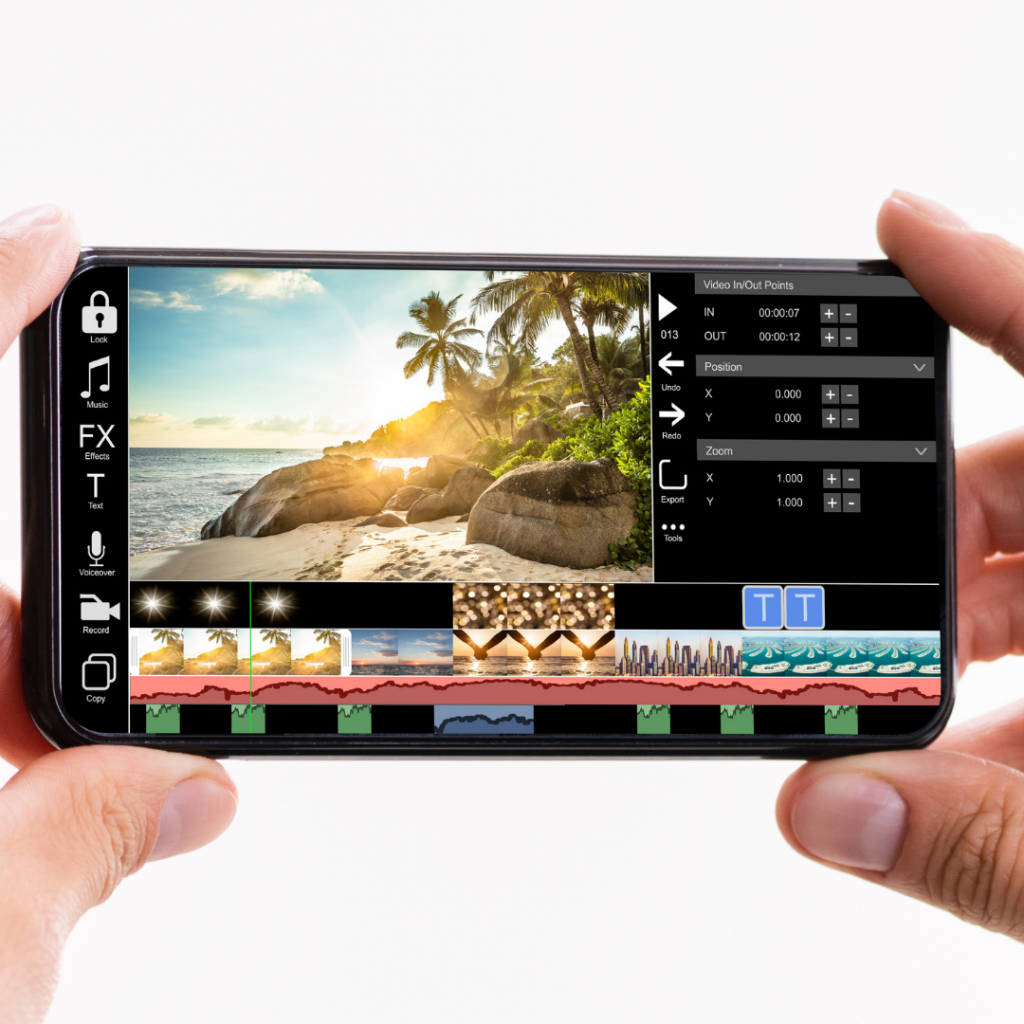
On your phone, you can edit with the free app Inshot or Quick (both free on iPhone & Android). If you like using your computer, iMovie or Kapwing are excellent options. If you want to use the green screen effect without using an actual green screen, check out Unscreen, it’s also free. And if you’re a Canva user, they have great video templates with some editing features.
6. Timing
Keep it short. Videos of 2 to 3 minutes perform well on social media. Besides, if you’re only just getting started with recording videos for your direct sales business, it’s easier for you to do short videos too.
Be aware that some social media platforms require videos to be shorter. If you want to post it on multiple platforms, aim for 30 seconds to the 1-minute duration.
7. Uploading
Always upload natively. That means uploading the video to each social media platform instead of linking to a video on another platform.
On Instagram, you must always upload your video. You can’t link it, but on Facebook or Twitter, you could link to a YouTube video. Try to avoid that and instead upload your video to every platform, so it’s ‘native’. Social media algorithms prefer native video better, so more people will see your video.
8. Captions
Many people watch videos without sound. If they can understand your video without unmuting, they’re more likely to watch to the end! The good news is that YouTube auto-captions videos for you.
Most editing apps also allow you to add captions to the screen without much effort.
Want the secrets to successful online direct selling?
Learn how to draw people towards you on social media!